 Read article ↗
Football Tactics
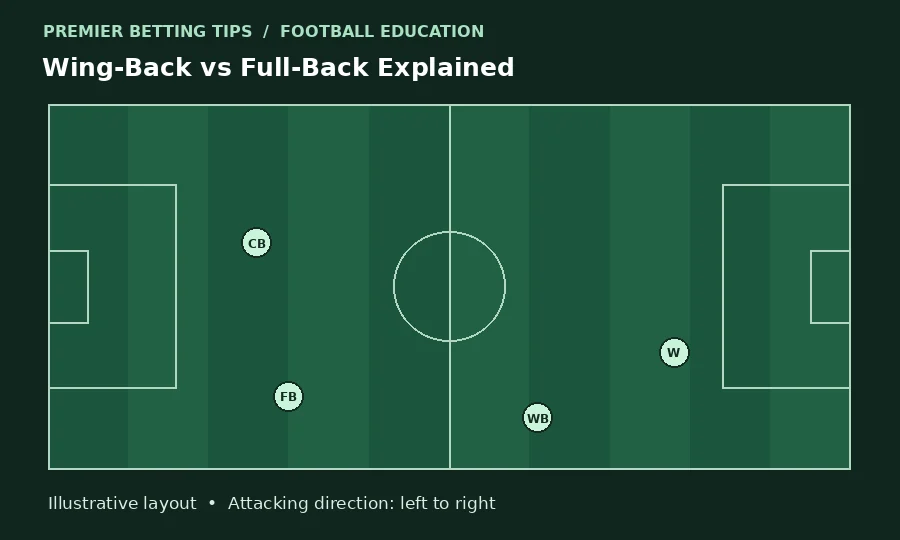
Wing-Back vs Full-Back Explained
Compare the wing-back and full-back roles in possession, defensive transitions and back-four or back-five systems.
Read article ↗
Compare the wing-back and full-back roles in possession, defensive transitions and back-four or back-five systems.
 Read article ↗
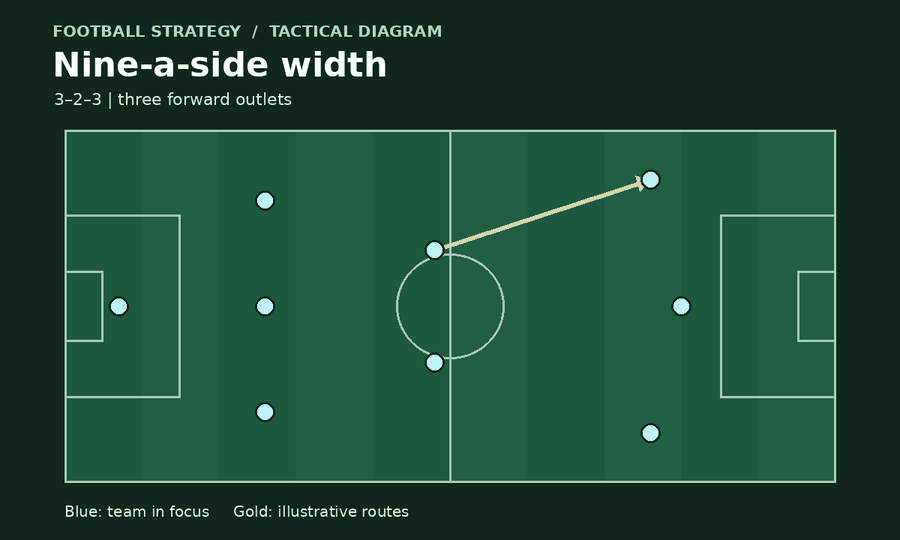
Compare 3–3–2, 3–2–3 and 4–3–1 in nine-a-side football, with practical ideas for build-up, wide coverage and preparing players for 11v11.
 Read article ↗
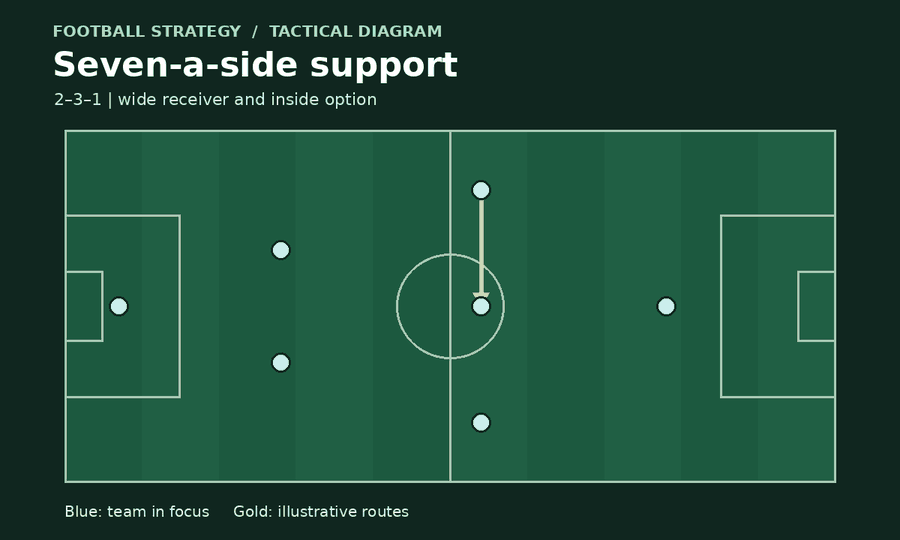
Compare 2–3–1, 3–2–1 and 2–2–2 for seven-a-side football and learn simple coaching cues for width, support and defensive cover.
 Read article ↗
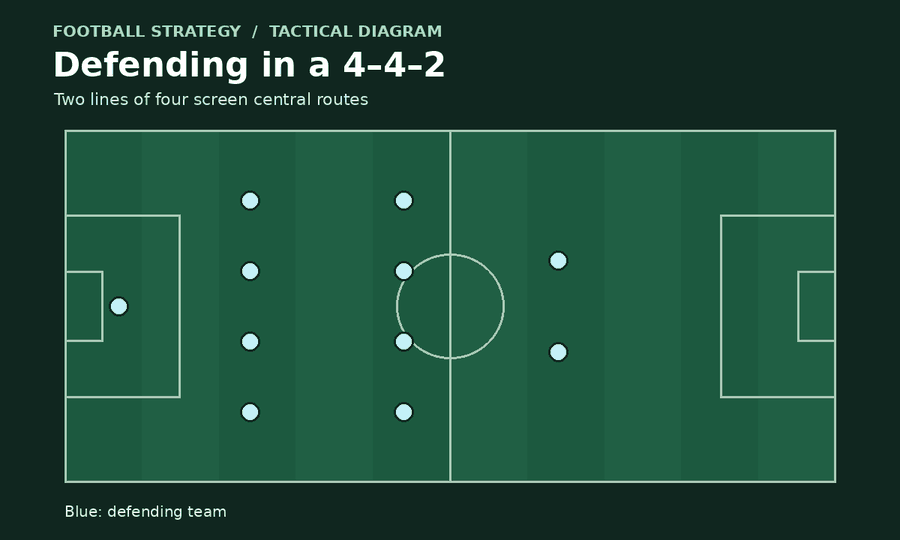
Compare the 4–4–2, 4–1–4–1 and 5–4–1 defensive shapes, including what each protects and where an opponent can find space.
 Read article ↗
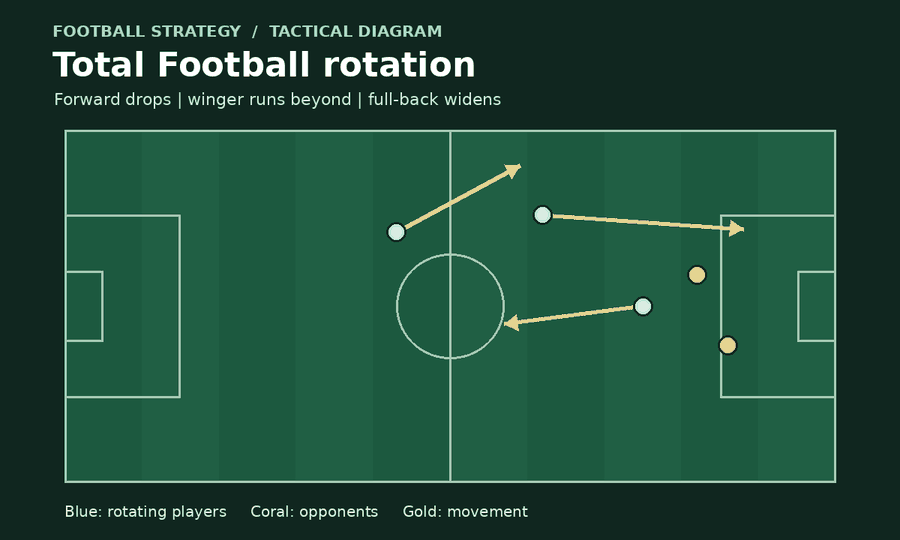
Understand how total football uses coordinated movement, positional exchanges and collective defending, with an example you can follow on a tactics board.
 Read article ↗
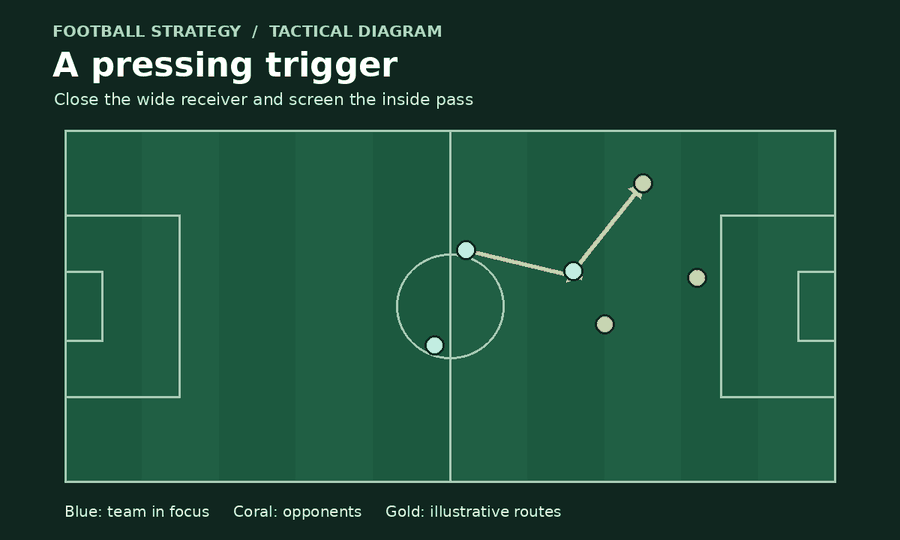
Learn how to read football tactics through possession, defending and the two transitions, with a practical match-watching checklist.
 Read article ↗
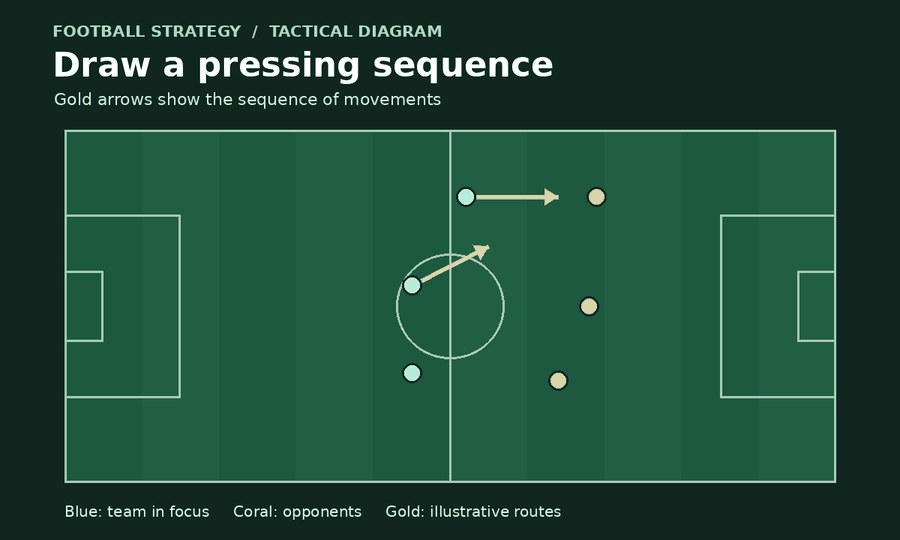
Use a football tactics board to explain player roles, pressing triggers and rotations. Learn what to draw, what to leave out and how to…
 Read article ↗
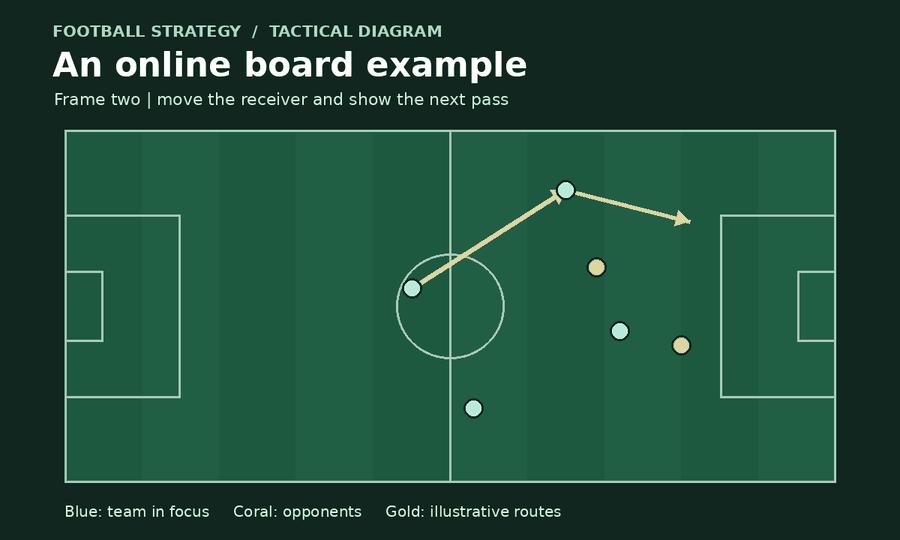
Compare features to look for in an online football tactics board, including mobile controls, save and export options, pitch layouts and share permissions.
 Read article ↗
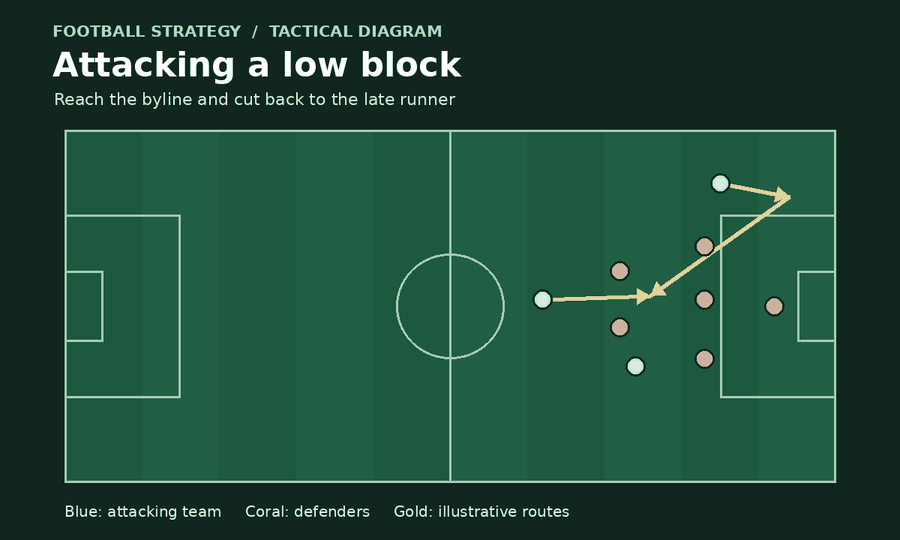
Learn how teams organise a low block in football and how attackers can stretch it, create cutbacks and protect themselves against counter-attacks.
 Read article ↗
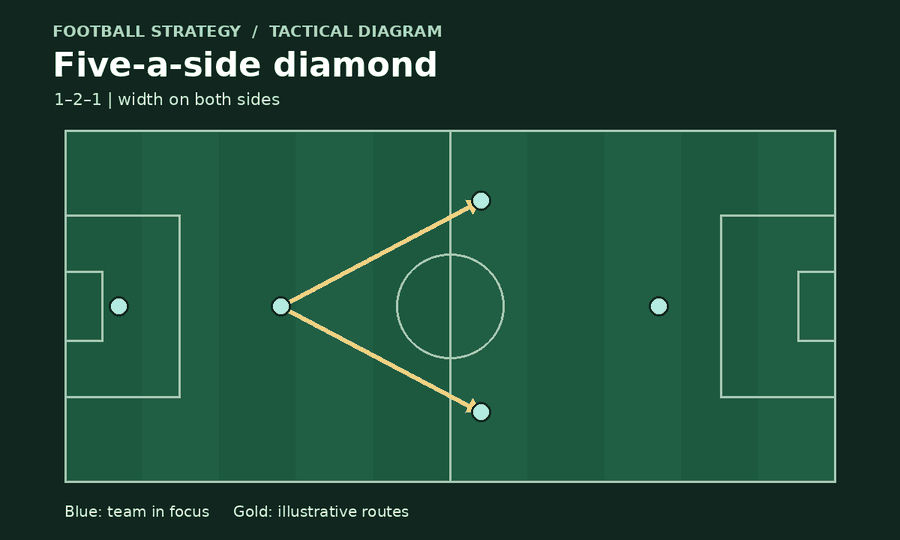
Compare the 2–2, 1–2–1 and 2–1–1 in five-a-side football. Learn how to choose a shape, rotate safely and protect the middle when possession changes.